Tuesday, January 19, 2016

Anansi Spiders

Image result for anansi the spider
As a class we looked at the story, Anansi the Spider, an african folk tale about a spider and his sons. The kindergarteners just got done studing spiders, owls, and bats so I took the opportunity to draw from their classroom studies to do some shape building/recognizing.


After reading the book and discussing what happen in the story. I had them decide if they wanted to use red or orange colored paper for their web. I choose those colors because they are very bright and would have the black spiders stand out. Before making the web we discussed what type of line would work best, they decide on a rainbow line over and over. So they did that first in pencil, in case they made a mistake, and then traced over it with white oil pastel. Oil pastel due to being a little thicker and something new for them to try and experience. 


 Next we look at Anansi and his sons again. I ask the students to describe what they notice about them. They describe that they are made of shapes! From there I have them use quarter sheets of black paper to cut the body and head, using oil pastels again to use on the black paper to see what they are cutting. Then they take pre-cut black strips to make the very important 8 legs. I really stressed the importance of a big spider that would not fall from his web. I used my hand as a measure tool. I said "If I can smoosh and cover your spider with my hand, it is too small!"


Last step was properly the funnest. Students got to design their own spider with decorations! I showed them how I did mine as inspiration, again looking at the book. And let them loose at my scrap paper. Some, as you can see from above, had a great time. 


Monday, January 11, 2016

Silly Sentences

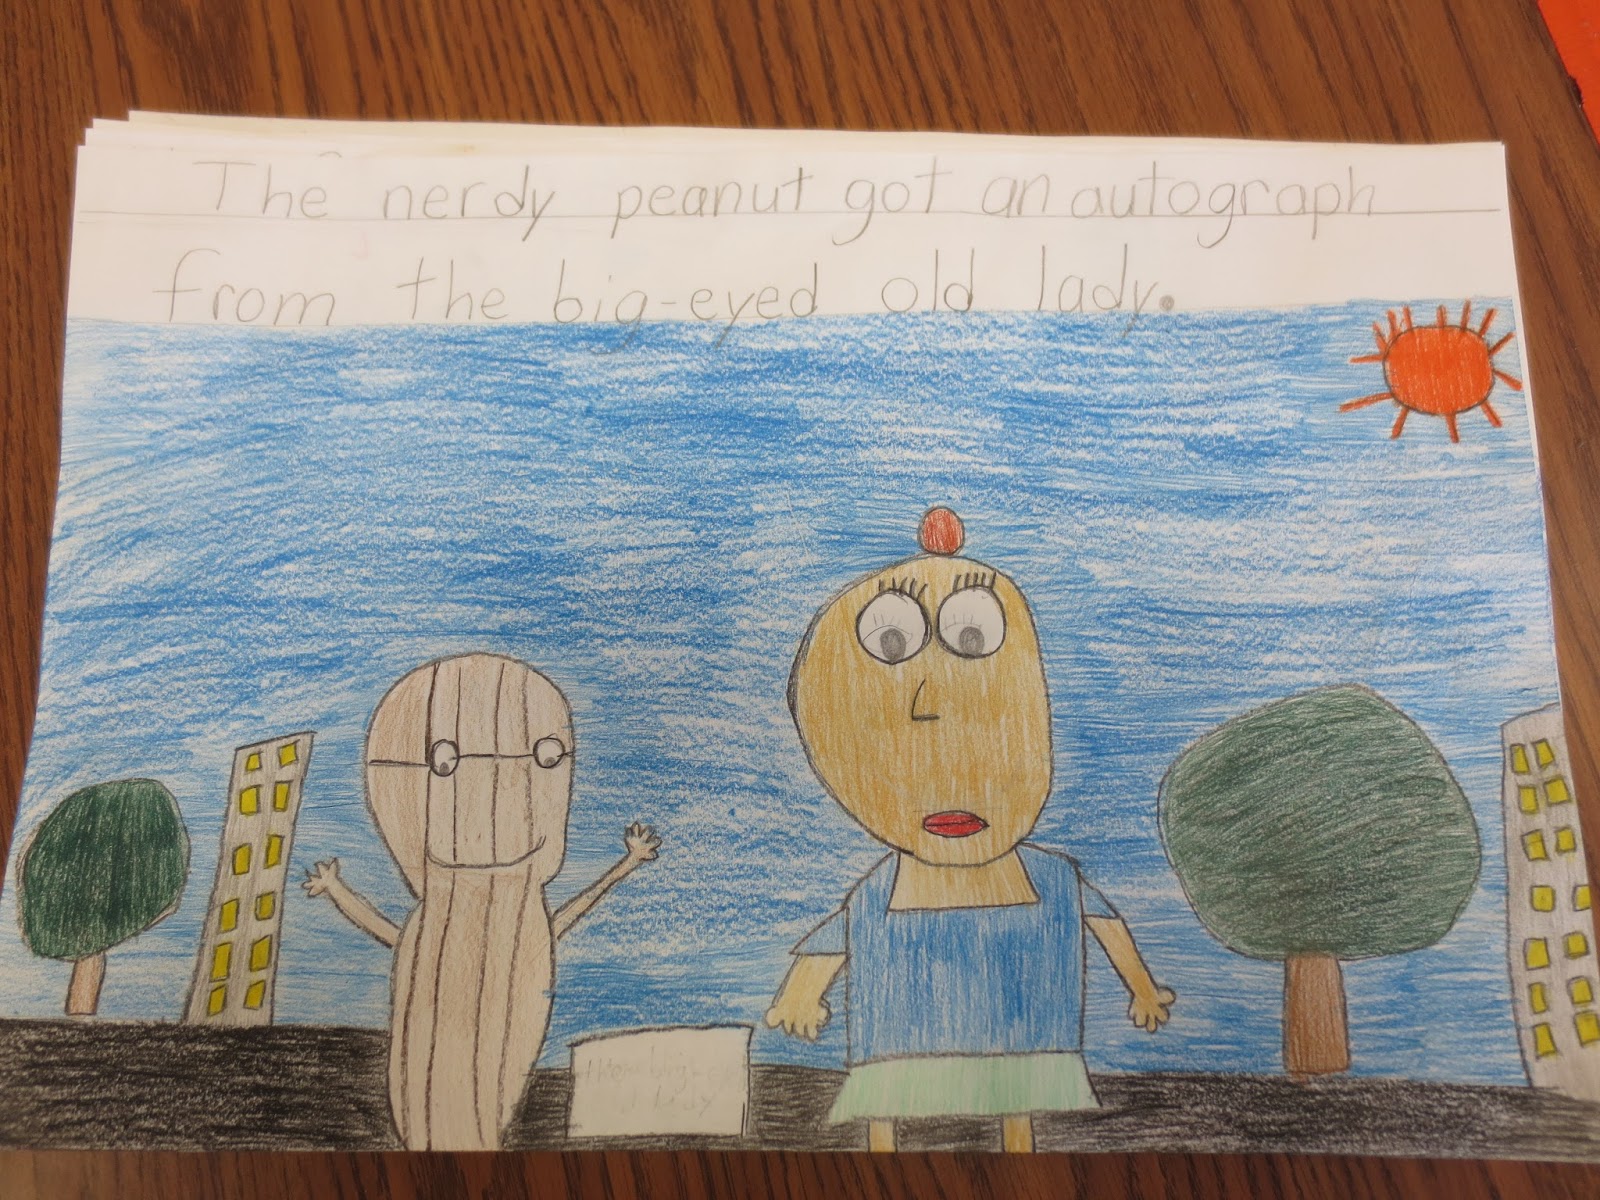
For 3rd grade I have them create what I call silly sentences. It is this project that combines language arts with art!
The students create a sentence from a worksheet I provide and then create a drawing representation of that sentence. Over the years I have adjusted the worksheet to make it easier for each student to work through. 
I start by having them create three sentences in their sketchbooks. Coming up with details to enhance the image the way the sentence can not. This also gives them a planning process and practice of writing the sentence. I inform them that due to selecting from the sheet, there should be NO SPELLING ERRORS!


Next we start the final! The final I have them do on 12x18 sheet of white paper and with color pencils. I have been storing up these amazing woodless color pencils which made this part go SO much faster then previous years. I tell them, "Tell the reader a story with your drawing, the sentence is only the beginning!" I really push for craftsmanship during this part, not accepting scribbles at all. 


Last step, critique!! I have them share and talk about their artwork and discuss. This is the part I worry about the most but I tell them that is is very helpful and after I ask them their thoughts. They actually liked do it and think it helped them understand why they make art. (yes one actually said that.) Plus giving them suckers for positive discussions and staying focus does help too. 


Emotion Masks

When it comes to fifth grade, they are little balls of emotion. What better then a project having them explore those emotions that isn't a self-portrait?

So simple we start with creating a base layer of newspaper. This does two things, gets the students use to the paper mache' goop again and how to use it. And two creates, well, a base for the white paper building. 

From here the REAL fun beginnings. 

I provide examples (as you can see) of the four main emotions they will be exploring. Each student is randomly assigned an emotion. I do random because otherwise I would end up with 25 happy and 5 angry. The four emotions I have them use are happy, scared, angry, and sad. We discuss these emotions and how ones face looks. The examples have exaggerated looking emotions which they need to create in their mask. And to add to it, I have them create a boarder to their mask reflects the emotion as well. This is probably the harder part due to attaching it but I feel it really pushes those problem solving. (Sorry I don't have many pictures of the building process due to goop and not having my camera on me due to goop.)

Once all dry, students begin painting BUT they must get approval of a design from me and explain their design choices. As I tell them, "Angry is not just red! Think deeper! Think of when you feel this and what comes to mind." 


The result were amazing!


Monday, January 4, 2016

Group of Seven Landscapes

So after one of my 1st grade classes, their teacher informs me that they are studying maps and landscapes. She knew I like to integrate and wanted to inform me.

My brain went to work. I wanted to do something different and save some other landscapes I do for later in the year. After some digging, I discovered the group of seven. A Canadian landscape group of artists, who all had different styles and all painted the landscape of their country. PERFECT. Now the challenge of designing the project it self.

First step was having the kiddos paint the mountains I wanted to include, inspired by above. 


I have the students fold the paper in half to give us the horizon line and a line for the mountains. From here we discussed what would be a good line to use to make mountains, after I demonstrated how I did it. (Note above is a student one.) Once drawn, I had them go over the lines with black oil pastels, it offered a thicker line and gave them some experience in the medium. Next we painted and I stressed not painting the sky because we were doing something special later on. 

Next we added northern lights. I showed them some pictures of the night sky up there and how the artists were inspired by this as well. And showed them a video about northern lights. I asked what colors they saw and we went to work. 
For the northern lights, I used simple white chalk pastels with color on top. I stressed the importance of  going one direction with their blending or as I called it "wooshing" they had a lot of fun and really liked the effect. Once done wooshing, they simple cut their white sky out and glue their mountains onto their night sky. 


Wednesday, December 2, 2015

Kindergarten Keith Haring


Keith Haring I feel is a great artist for many different grade levels to look at. So a great first artist for my kindergarten students to look at. With his use of people, shapes, lines, colors, and story of his work. I start by showing them an old YouTube video of him working in the subway.

I start by asking them what shapes they see in his people. As they suggest ideas, I draw it for them. But in general I aim for them to notice big oval body with small oval arms and legs. With a medium circle head. 

(Sorry I don't have many pictures of this process due to kindergarten being well, kindergarten.)
Now a small difference from Harings work to this one is that I have the kids add details to the person to make them like themselves. This gets them thinking about details and themselves.

Once the person is drawn, we add the "dancing lines" and we discuss all the different types of lines they could use. And I really make them put a lot on there. 

Last we talk about the most important thing, no scribbles! I got them into a little saying "say no to scribbles!" 


Wednesday, November 25, 2015

Weather Booklets

For the past three years, myself and the 2nd grade have collaborated on a project about weather. I personally love collaborating with my classroom teachers and joining forces to help the students learn. And with the weather it is a great chance to discuss landscape and how to create them with details.

In the past I have done a pop-up card and an abstract work of art. Both, I feel were not the best to display the students learning. THIS YEAR THOUGH. Oh snap.

 I luckily enough had these dense cardboard pieces saved for me over the summer. With the help of prep time, an electric three-hole punch, and just having enough time in class. My students created these awesome little stand up booklets (I choose booklets because it is one page).
Like many projects I do, we sketch! I discussed the horizon line and size changes with them but also what details might help tell the viewer what weather it is. This is one part I wish we had more time on but I wanted to get it done quick. Why? You'll find out.  


After just a class of sketching, we created the final cover and a facts writing sheet. The writing, I even demonstrate in my example video, that spelling is not important to me BUT important to their classroom teacher. I mainly cared about the cover. Due to the size of the booklets, the cover paper had to be a bit smaller. 


Next class was putting it all together. This is where the electric hole punch came in. I have about 60 students between my two 2nd grade groups, each needed two. THEN hole punching those writing sheets. I made a set of 5 holes and told them to make a sandwich of their board, facts sheet, and board. Luckily a good number of my students know how to tie knots. I told them to triple tie each one and then glue on their cover. 

End result, a little booklet that stands on its own. 

AND they needed to be done quickly because there is an event at my school called Grand
friends day before Thanksgiving. So we wanted to have the kiddos share them with their grand friends.


Monday, November 23, 2015

Kindergarten Rainbow Trees

OH LOOK A RAINBOW!

I personally hate doing the same boring rainbow. So I decided to switch it up a few years a back with the rainbow tree!
How I start it out is, I read the students "Stuck" by Oliver Jeffers. A personal favorite author, good stuff.  I talk about the details they notice and how the colors of the tree are different and what they think might happen. 

After that, we start the tree first. I simply have them put their hand in the middle of their paper, like it is stuck, and trace it with their arm. Next they color it in with brown and wahal! a tree without leaves. 


From here is the painting fun! I start with a primary and mix in another primary to make a secondary. I do two colors a day due to my time with them. As you can see, I use a paper plate for the paint and I give them a small sponge to stamp the leaves with. I go over every time the expectations of cleaning up after themselves and how to do it quickly so our other friends can get cleaned up too. 

As we go through the colors, I make them count. First 10, then 15, and finally 20. I also discuss layering and not painting with it but stamping. 
 

Once all painting is done, we add details that we would find outside. Really pushing them to color in as much as they can.