Showing posts with label 3rd grade. Show all posts

Tuesday, July 12, 2016

Bottle Bobble Heads

BOBBLE HEADS!! So this project has evolved over the years. It original started as scientist but with the grade levels curriculum change focusing on animals and their adaptions. But I original got inspired by my teacher while I was student teaching who did bobble heads and modified it into this amazingness. 


SOO. I am cheap, like most art teachers but clever as a lever. (Not sure what that means but just go with it.) I had the students use recycled bottles for the body and to help weight it down, rocks (it is actually kitty litter but I tell them rocks. It is tidy cats dust free 24/7 and a 25 lb takes care of one class just about).  Then they take a piece of wire and have to wrap it around a ball of newspaper and paper mache the body and head. Over the years this has changed a bit to make it easier because the head is the hardest part. 


We first do a layer of newspaper, not covering the very bottom of the bottle and the wire part of the neck. Then we do white and I show them that if you fold and layer the paper, it will create a bump. I also show them how to add pipe cleaners for other parts like arms, legs, wings, and etc. Some kids really go with it and I ended up needing two days just to get this part done for how intense some got.  


INTENSE!


Now before they can paint, they need my approval of a design. Now it is an animal they are studying in science so they know how this animal looks and adaptions they could add. But just in case they forget the colors or what more detail. My school is lucky enough to have chrome books for them to look up their animal. They know how to use them already due to using them for animal research. But they are required to write down what adaptions their animal has and if they added it or not. Along with describe what they plan to do. I give them the tip to do a base coat of paint then do details the next day. (Similar to the bottle banks, I use bottles and paper mache' a lot in 3rd. Such a  horrible thing.)


Once students are done, I introduce them to the idea of a self-assessment. Just a simple few questions asking about how they feel they did, what they would change, what grade do they give themselves, and about their animal and what they included. 


I love this project and look forward to it every year. It is so open and has such possibilities. Every year this is a challenge though so adjustments are made. I think for next I will change my demo video for how to add the head again. It is such a challenge to do. 

Monday, April 18, 2016

Recycled Bottle Banks

Integration is such a part of my art teaching that the classroom teachers share what is going on in their room on a regular bases. So one day my 3rd grade teacher asked if I had any idea on how to do a project based on their inquiry into renewable energy and recycling. Some time and planning later and a few eye twitches later. I came up with these Recycled Bottle Banks. Which I feel, honestly is pretty genius. 


So it starts with having the students pick a bottle. Now because bottles are cylanders that like to roll on their side, I have students attached old marker caps to the bottom as feet to hold the bottle in place. Just simple masking tape will do.
After that we paper mache', first in newspaper or old phone book paper. Then a layer in white to really finish it off. 
When they were all dry I cut the hole for the money myself with a box cutter. 


Next we paint! Now painting it was interesting because I had the students use their renewable energy source as their inspiration to paint. I had them design and describe to me what they planned to do before painting and I demonstrated to them the importance of a base color before details. The rest is all them.


I loved this project and so did my students. I had them make sure to paint the whole thing and they learned about the round. If I were to do this again, which I totally would. I would have more guided questions for my students. I feel like I told them why they needed the feet and why a base color is good. I want them to answer rather then be told why. 

Monday, January 11, 2016

Silly Sentences

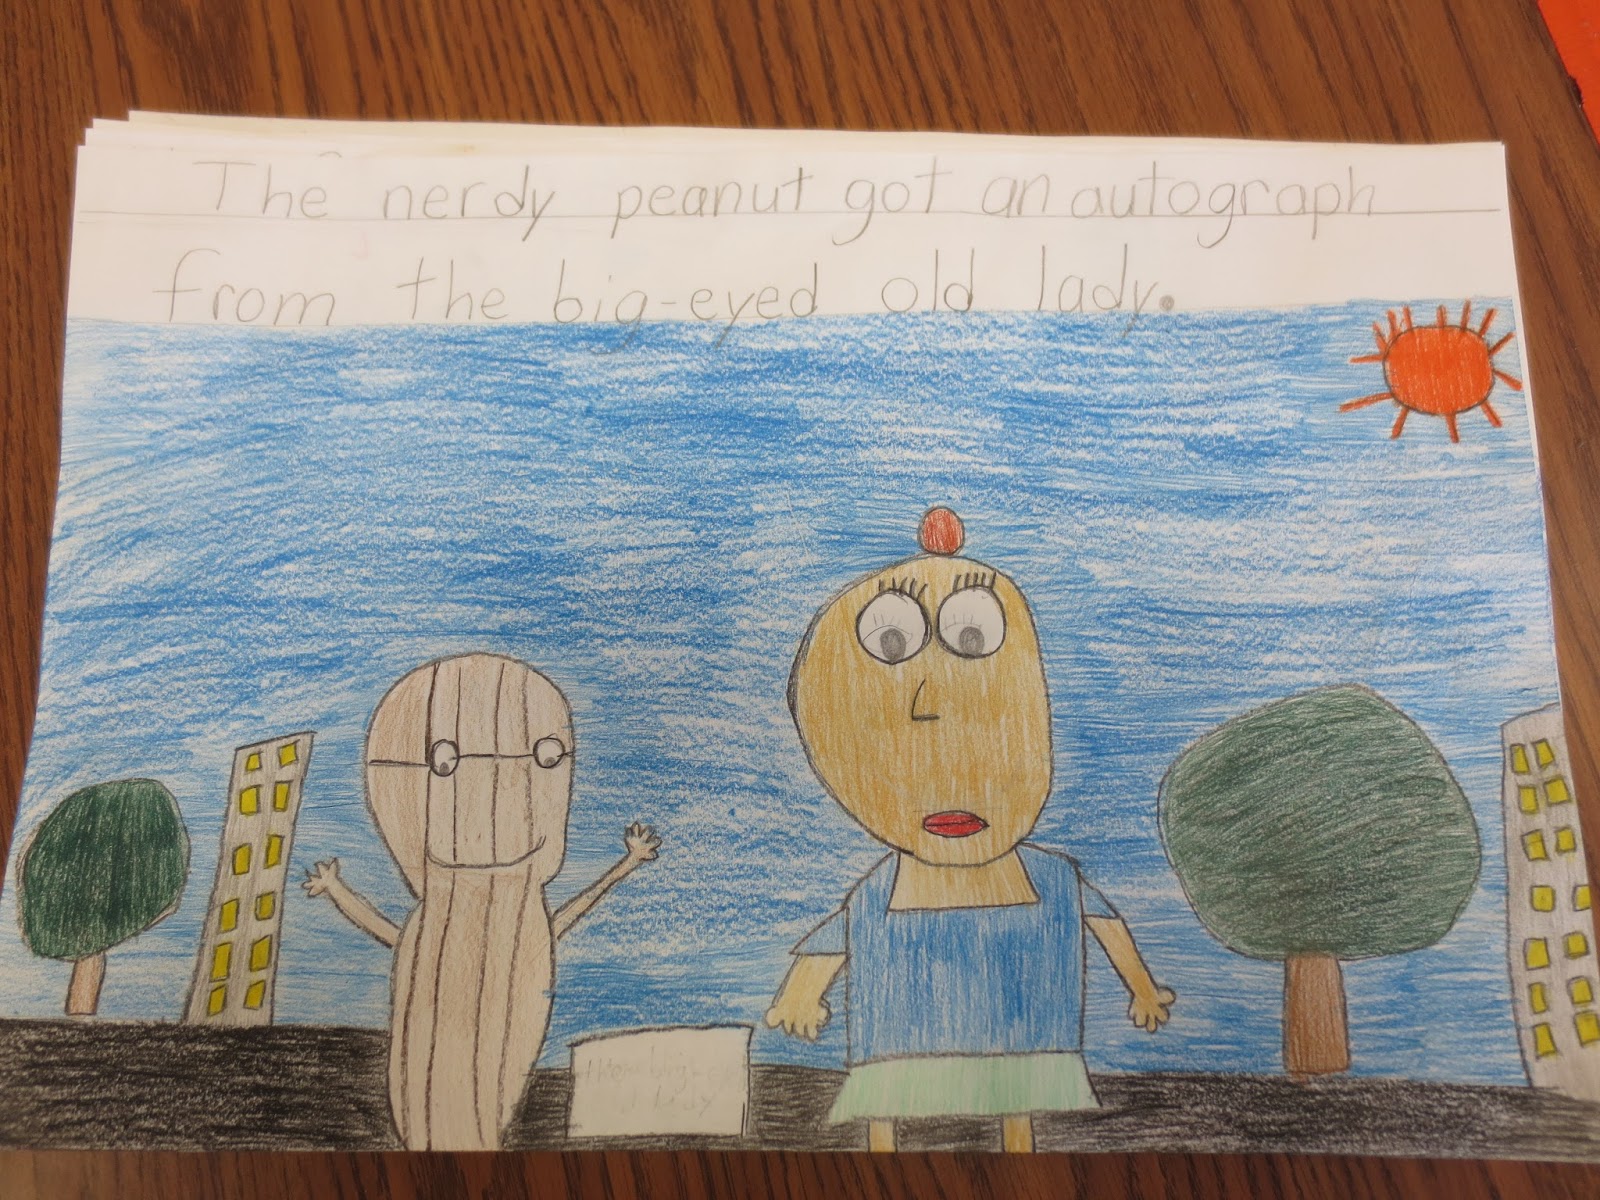
For 3rd grade I have them create what I call silly sentences. It is this project that combines language arts with art!
The students create a sentence from a worksheet I provide and then create a drawing representation of that sentence. Over the years I have adjusted the worksheet to make it easier for each student to work through. 
I start by having them create three sentences in their sketchbooks. Coming up with details to enhance the image the way the sentence can not. This also gives them a planning process and practice of writing the sentence. I inform them that due to selecting from the sheet, there should be NO SPELLING ERRORS!


Next we start the final! The final I have them do on 12x18 sheet of white paper and with color pencils. I have been storing up these amazing woodless color pencils which made this part go SO much faster then previous years. I tell them, "Tell the reader a story with your drawing, the sentence is only the beginning!" I really push for craftsmanship during this part, not accepting scribbles at all. 


Last step, critique!! I have them share and talk about their artwork and discuss. This is the part I worry about the most but I tell them that is is very helpful and after I ask them their thoughts. They actually liked do it and think it helped them understand why they make art. (yes one actually said that.) Plus giving them suckers for positive discussions and staying focus does help too. 


Monday, November 16, 2015

BOATS!! Homer/Hopper Seascapes


Boats!! For this project I have the students look at the artwork of Winslow Homer and Edward Hopper. WHY? You might ask, well two reasons. One being my district has a benchmark where the students need to develop understanding for painting and landscapes AND opaque/transparent paints. This project combines all that and two being they are discussing artwork. I have them compare these two artists who have similar subject matters but have different feelings to their work. 

In comes the discussion of color choice as well. I use this project to also discuss tint, tone, and shade and how to create it AND discuss opaque and transparent paint. 
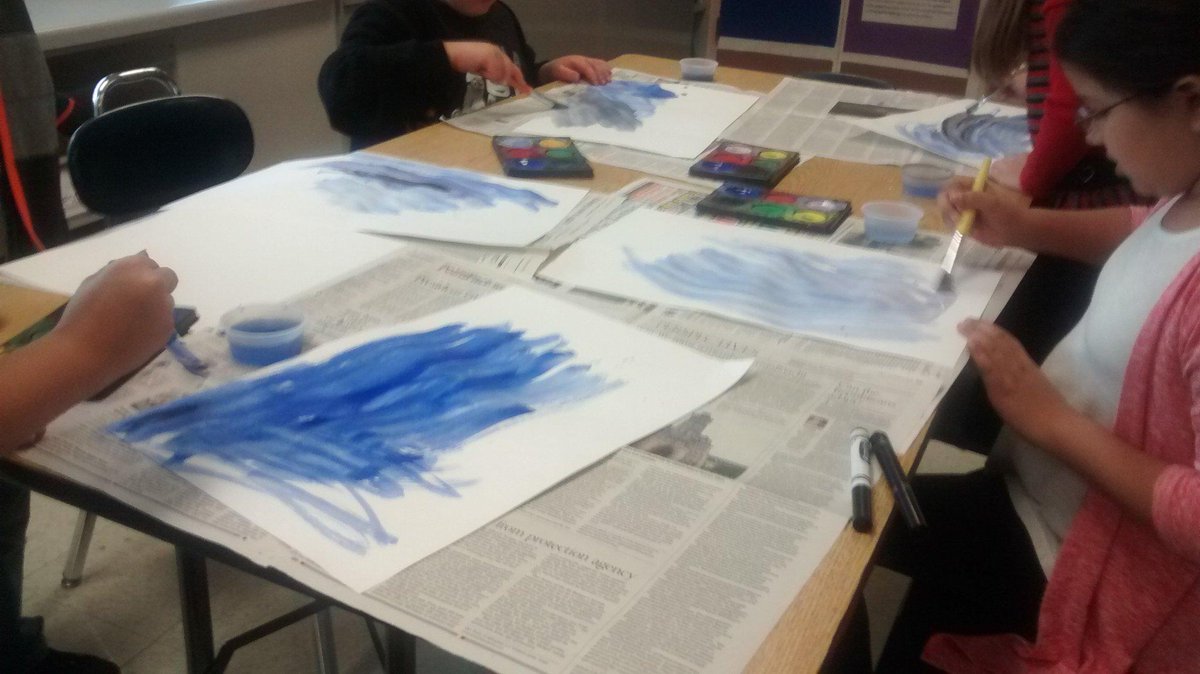
To create this high sea adventure I start by having the students paint one sheet of paper with watercolor tempera paint or as I called it our "opaque". THEN paint with regular tempera paint on a second sheet. 
Embedded image permalink
(Note that I have them work on newspaper to save on clean up.)

This can be a lot of fun but super messy. I allow them to experiment with the tint,tone, and shade by mixing right on the paper and allowing them to take paint for the regular tempera. 

Once dry, I put them together in their opaque and transparent partners and demonstrate how to make the water with the opaque paper as their sea. 


It is simple really, they take the opaque paper and rip it. I explain and demonstrate that if they rip it from short side to short, they can get these white edges. They then can layer it to create the sea as wild or calm as they want. THEN I show them how to make boats out of origami paper. I show them a picture of some boats and ask them about the size change. They then proceed to create their boats and I say a goal is to have 3 and in size order. 


I enjoy this project a lot because it gets them discussing many different elements of art.