Monday, October 19, 2015

Updated Art Word


After having the art word up for since the beginning of the year. I noticed a few things. 

1. Students hitting it to hit it, and hard too. 
2. Students not saying the word.
3. Students not saying THE RIGHT WORD.
4. Teachers not helping/ have no idea. 
5. Short students needing to jump. 

SO..I updated the sign for where the students interact and I started saying the definition before they leave. 
                                                      
         Before and after

As you can see, changes. Stop sign part lowered for my more vertical challenged students. Wording changed. NOW student pet the sign and have to say it out loud. I know having them say it out loud just can have the one behind them repeat but they are still using the word! Again they can skip out if they don't know it. Last change not seen is I put a folded piece of felt behind the sign to soften the blow. 
So for the teachers not helping, I have tried talking to the students about it as they are waiting to leave, so the teachers get the hint to ask them. Two of my 10 classes the do this (kindergarten has not been introduced yet, just getting them use to regular route is first step) actually ask the students what the word is, and step in to look to see it too. 

See how this works out now. 

Tuesday, October 13, 2015

Ce'zanne's Fruit Plate


This is a project I developed that focuses on the use of Paul Ce'zanne's artwork. It combines the use of color theory, shape building, paper cutting, art history, reading, and even some value understanding. 

I start each day with reading a little bit of...
(Note I think this is something I might change for next year due to how the students interacted with it.)

Now this is the first time I did this one so things can be fixed. 


To start students make mix red and blue to make purple and paint a WHOLE sheet (12x18). I do this first because it gets them in the habit of how to clean up after themselves and play with the brushes. 
And putting them away!

Next is orange and green. Which I have them again mixing the primaries to create that secondary but using one sheet for both. Working on developing folding (hamburger style is what I call it but otherwise known as book style) and brush control. 


NEXT we build! 

I talk to them about how Ce'zanne used shape to make his artwork and how they have to make a LARGE oval and medium circles for their "apples or oranges". Talking about what the difference between small and medium. I like to do hand/finger measurements so I say so be " bigger then three fingers wide, so if your three fingers covers it up..TO SMALL!"  But they get to decide if they are making apples or oranges and use the other color for the plate. 


I also discuss overlapping as well but I throw in some discussion of "shiny and shadows" with oil pastels. I demonstrate what to do for them and have the students tell/explain what I did. The shinny and shadow is more just a extra bonus design. But the main reason I do all this is to have them develop that use/ understanding of secondary colors and build on shape identifying within objects. Also the fine motor skills isn't bad either. 


Saturday, October 3, 2015

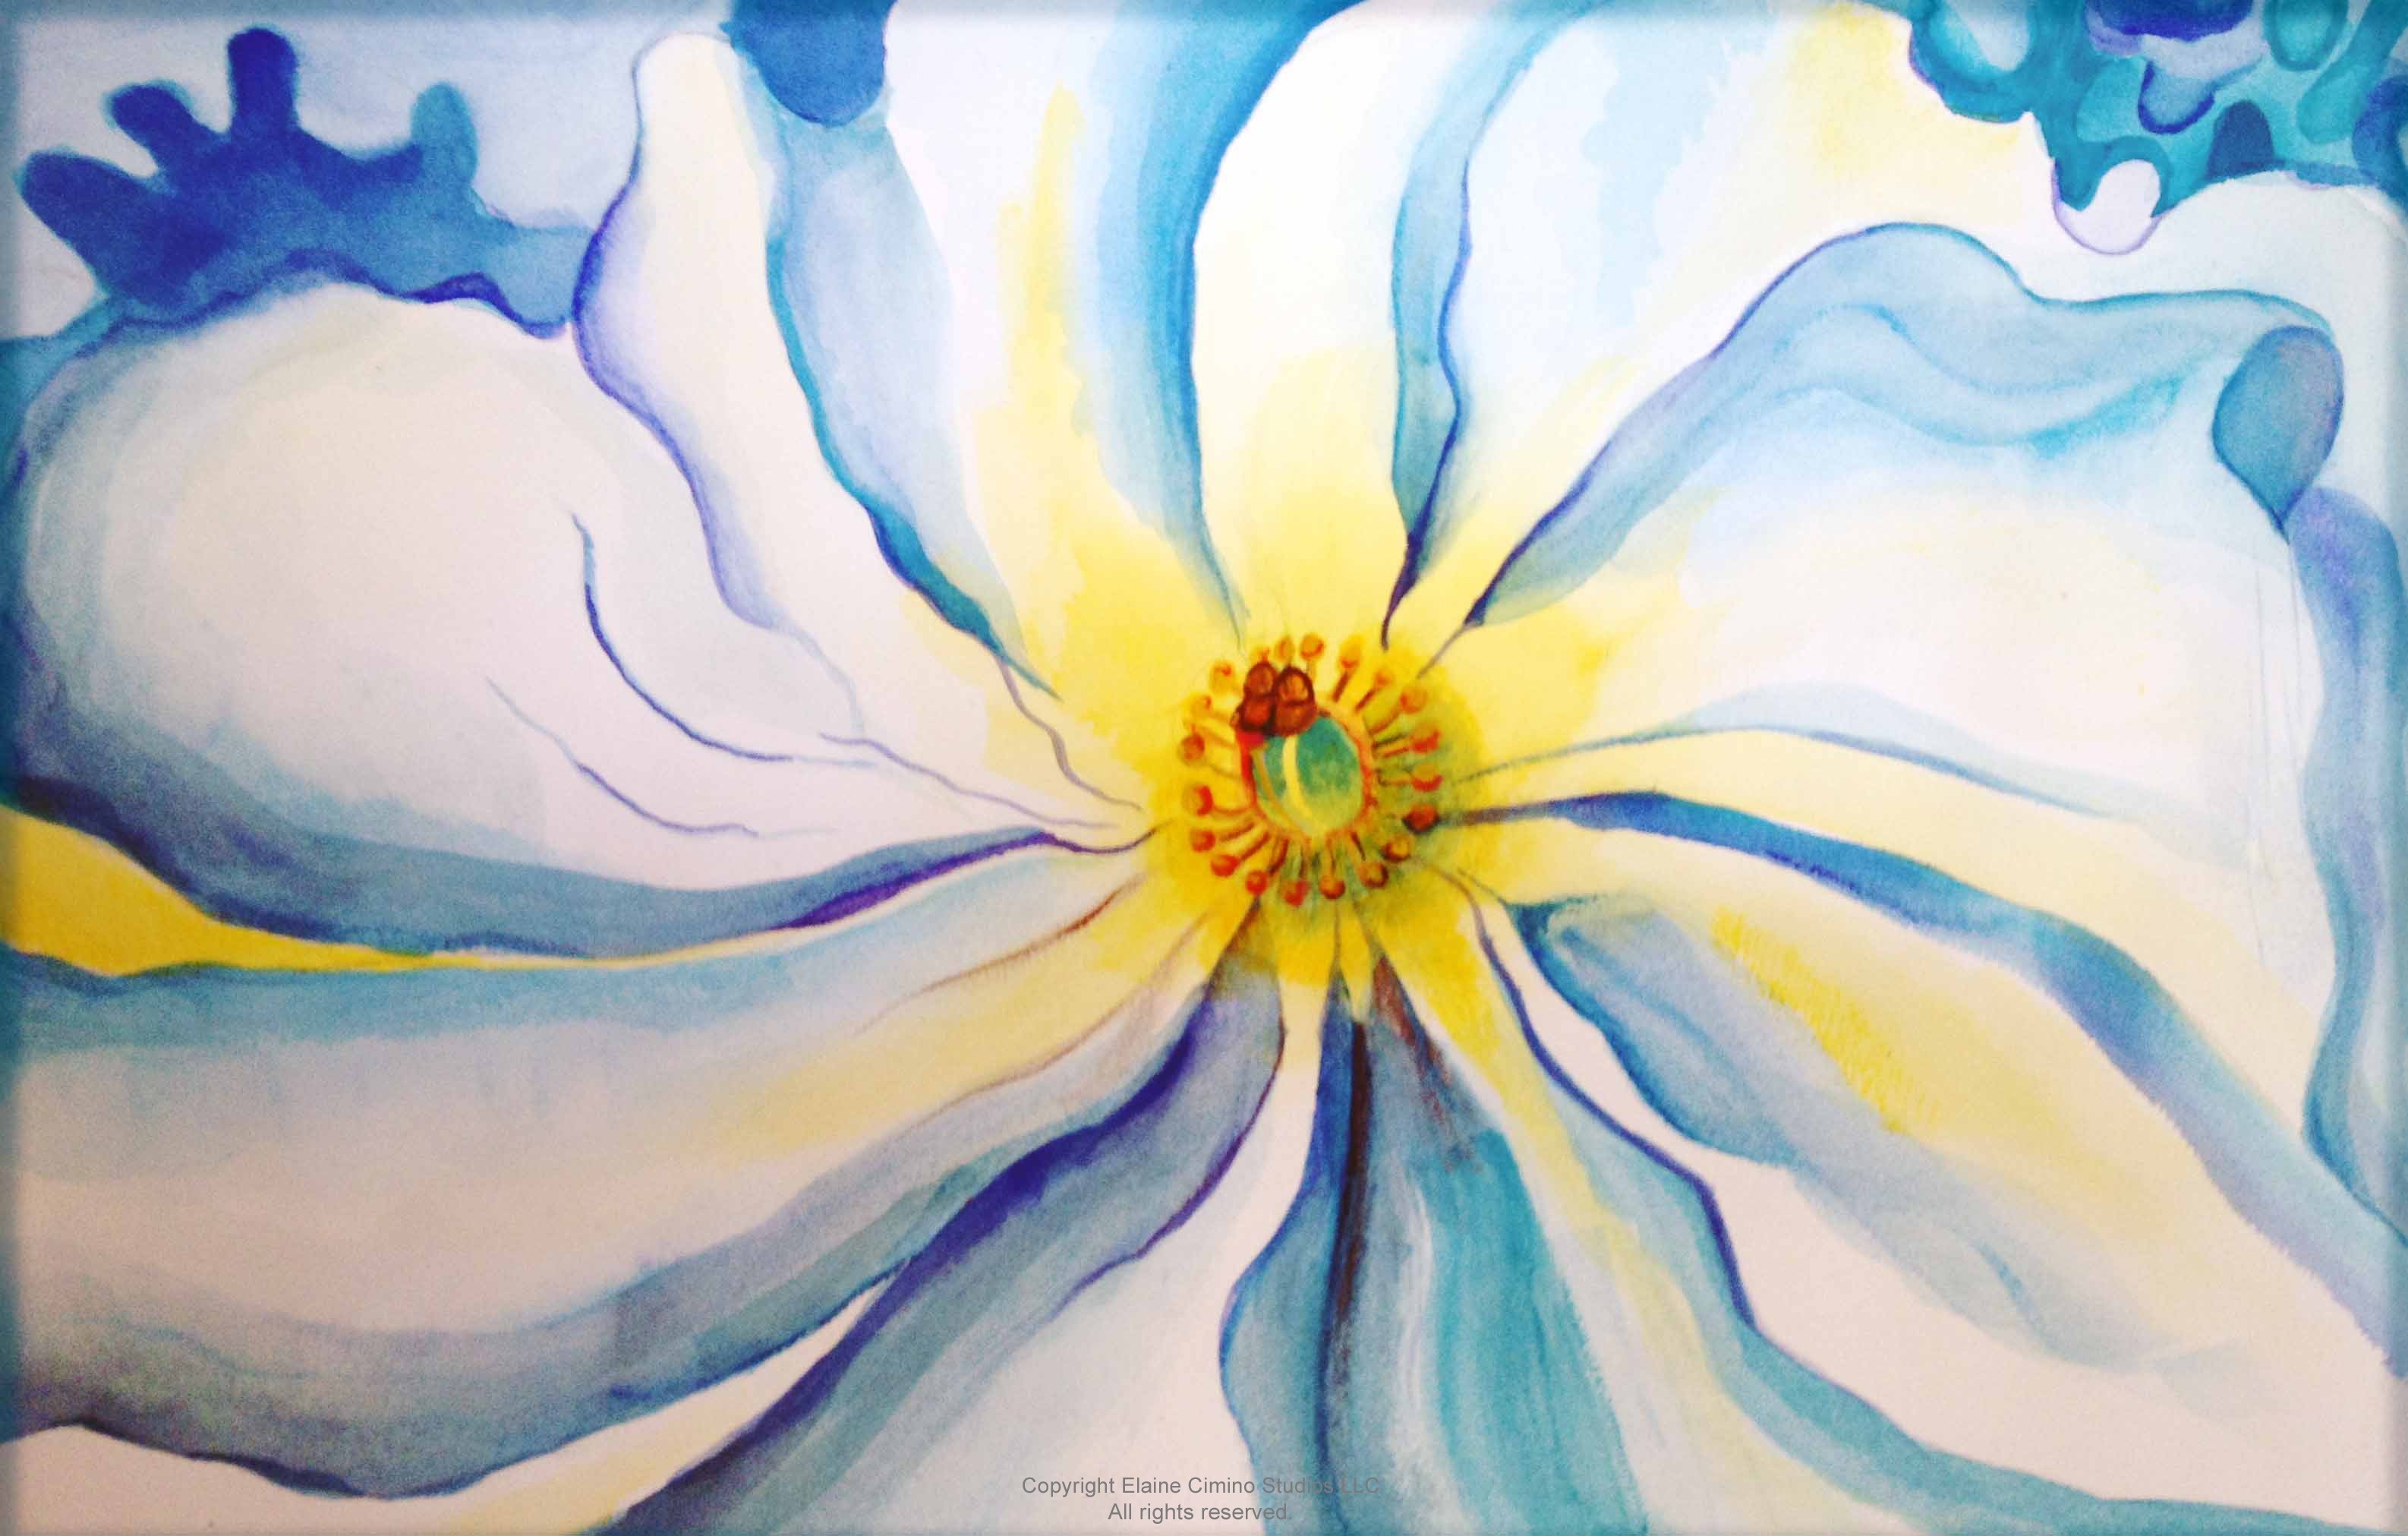
O'Keeffe Warm/Cool Flowers


One of the benchmarks my district has is students must demonstrate control over their brushstrokes. To do this, I created a project based off of Georgia O'Keeffe. (An artist I will be honestly, I dislike but is from Wisconsin so feel I should mention her once.)
                                                              
I start by reading this book to them. We talk about her life and how she was always different and was passionate about her artwork. 


Next we look at her artwork. I simple ask them "what do you see?" and students point out colors and shapes and I ask about the pellets and do they go all the way off or stop? 

This leads to the first set which is creating the flower part. I have students draw a large circle in a corner then draw the pellets going off the page. REALLY pushing them to be big and go off the page. Using their WHOLE arm to make the line. Once drawn, I have students use black glue I made (white glue with black ink) to trace the lines. This helps protect the lines during painting and lets them develop that fine motor control with squeezing the bottle.  (sorry no picture)


NEXT we paint! Now this is were I challenge them. I tell them they get to choose one of two color groups. Warm OR cool. We discuss what each is and why they are called this. And I challenge them further by telling them that O'Keeffe got great details but controlling the way she painted. She painted with the pellet, not against. 


End results! I like doing this project near the beginning of the year. To add some color into the halls right away. 


Flipped!

5th grade started the flipped proportion of their self portrait project. The idea behind flipping comes from the fact that this allows the students to research the artist they want to use for their project. Before I would go through every single one. Information  would get confused and they students wouldn't really recall much. THIS was great. Once we got all set up and going, they took to picking the artist they wanted well. This was just the first group. Here is hoping the second goes well.